Spring break is right around the corner and if you're like us, we have no real plans. We will be staying close to home, and that has me thinking...what can I do to keep the kids busy for a week?
I decided to round up all of my favourite crafts I've done with my little ones over the years. They are all easy, and require simple supplies!
So less chit chat, let's dive right in...
SUPPLIES

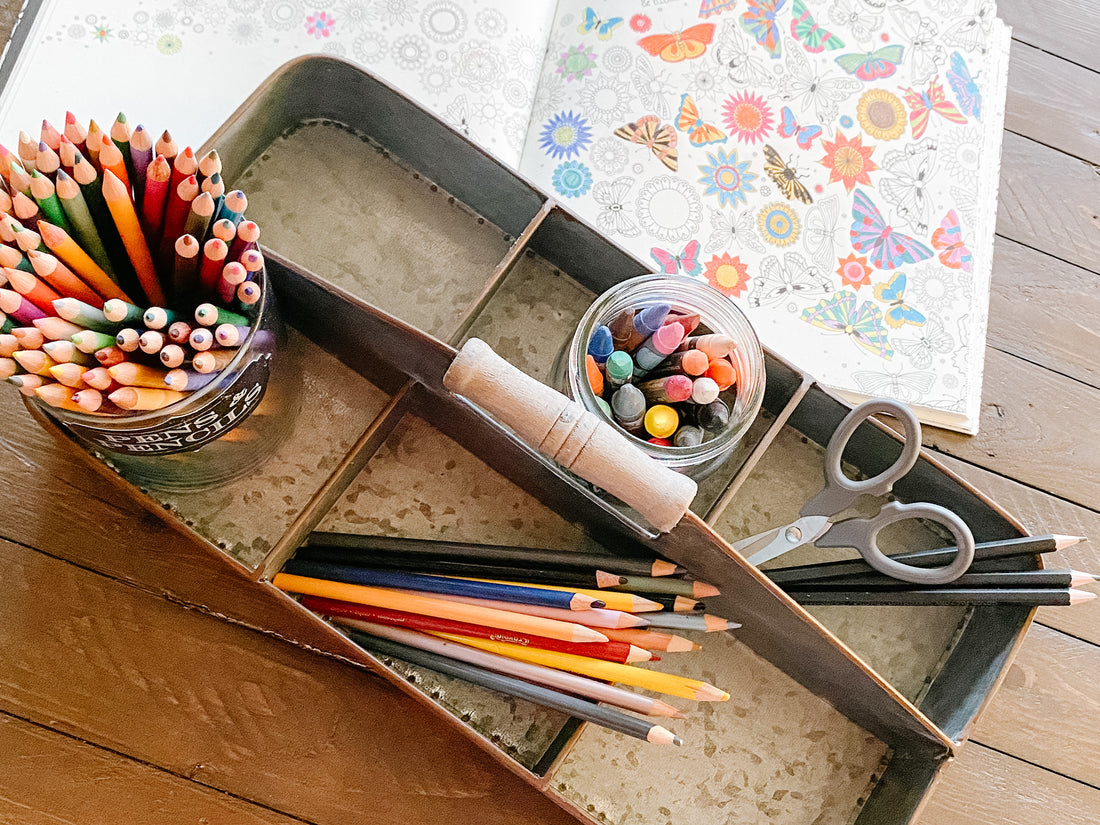
I also like to keep a tray like this one our coffee table filled with simple craft items:

Here are some of our favourite craft ideas:
EGG CARTON FLOWERS

This is a fun idea for spring that's very easy and the results are super cute! To start you'll want to get your kiddos outside to choose themselves a tree branch. Nothing too big, and make sure it's free of any old leaves.

Setup an area they can craft on by putting down some newspaper or a plastic tablecloth to protect the surface.
Start by cutting the egg cartons apart. Each egg compartment will become a flower. Let your kiddos have fun painting several "flowers" with plenty of bright colours. They can paint the inside of the flower a different colour from the outside. Set the flowers aside to dry.

Once they are dry, poke a hole through the centre of the flower. Take a small piece of pipe cleaner and string one bead on it. Fold the pipe cleaner in half with the bead in the centre. Poke the folded pipe cleaner through the centre of the flower (the bead will become the centre of the flower). Attach the flower to the branch and repeat until the branch is full of beautiful spring flowers!
Place the branch in a vase and add it to your spring decor!

EASTER EGG PAINTING
At this time of year, my kids become obsessed with decorating Easter eggs. We do the full day of dying eggs and sometimes we even make Pysanka (Ukrainian Easter eggs), but that is all a huge setup and process.
To keep them entertained until the real egg decorating day, I like to buy the faux eggs from Walmart and let them colour, paint or put stickers on them. They love doing this and we often keep the eggs and markers out until Easter, so they can decorate eggs whenever they want.
You will need:
- faux eggs (from Walmart in the Easter section)
- markers and/or paints
- small stickers
- keep egg cartons for the eggs to dry in
- paper/construction paper (for drawing egg design)

I also like to draw a simple egg design on sheets of paper and let them have fun colouring their own designs on the eggs. It's another way to "decorate eggs" without the full (messy) process!

PAPER PLATE DINOSAURS

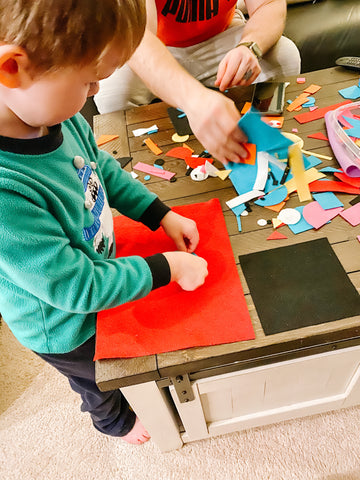
FELT SHAPE CREATIONS

MUDDY CAR PAINTING


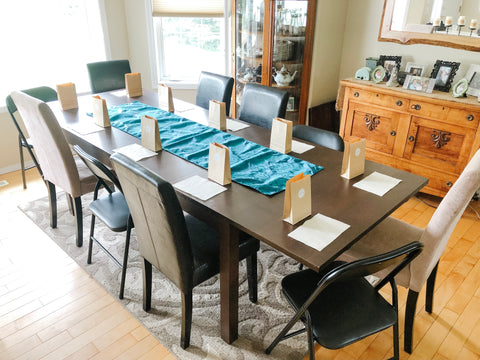
MINI-CRAFTING SOCIAL
This idea is for the older children! Invite some of their friends over for a mini- crafting social!
Years ago, I used to host crafting socials. It was a fun evening for us local ladies, where I would provide snacks and a craft for us to do (with all of the supplies provided). I still have such fond memories of those events.
You can plan your own jewelry crafting social for your kiddos and their friends. (This is also a great idea for birthday parties).
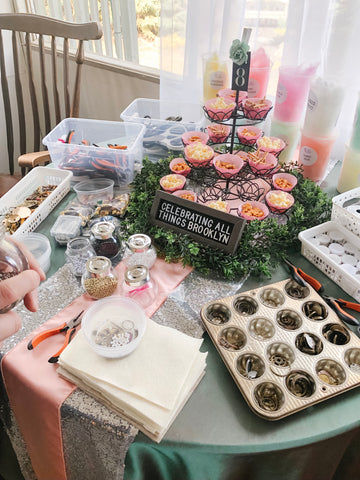
You will need:
- a variety of beads
- stretchy cord for bracelets (Dollar Tree)
- a few pairs of scissors
- egg cartons or muffin tins to hold the beads
- small plastic dishes (one for each guest)
- a sheet of felt for each guest
- a small paper bag for each guest
Begin by setting up a table with a place for each guest. You can even create simple name cards so the kids feel special and know where to sit. Put a piece of felt down at each place setting - this is what they will work on (so the beads don't roll around). Put a small paper bag out for each of them to take their creations home at the end of the event.

Setup a separate supplies table (or set the supplies in the centre of the work station table). Put all of the beads in the muffin tins or egg cartons. Set out the scissors and plastic bowls. Pre-cut the stretchy cord for bracelets (about 8").

Have each child fill their plastic bowl with a piece of stretchy cord and all the beads they think they will use for their bracelets. Help them tie a knot on the end of the cord and then they can start stringing their creations!
Help them tie them together on their wrists and voila! They are done! If you have enough supplies they can keep making multiple bracelets. They will love the creativity and socializing while they make their designs.

FREE FOR ALL CRAFT TIME!

